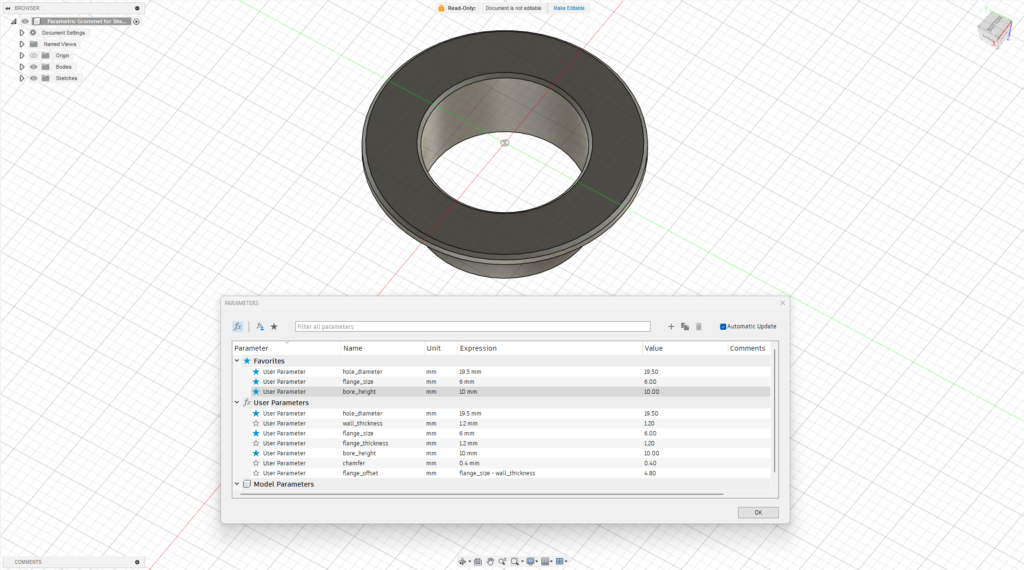
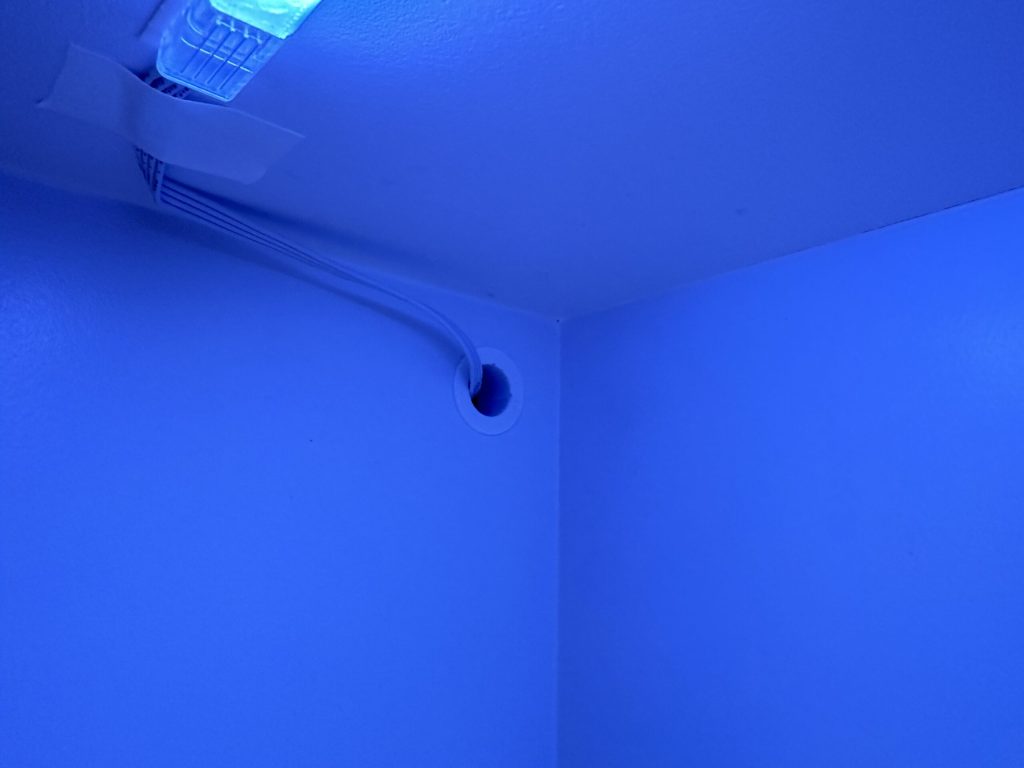
This lets you print custom cable grommets for desks, shelves, walls, etc. It covers up the drilled hole and the insides, making it look better while protecting the cable from sharp edges. I used this to wire up my bookshelves with the Govee LED Strip.

Key Parameters
hole_diameter– the size of your hole, as drilled. This controls the outside diameter of the tube that goes in the hole.- You will want to make the grommet slightly oversized for a tight fit, e.g. 0.1 – 0.4mm depending on situation.
- The amount will depend on the material this is going through (e.g. MDF, particle board, solid wood, metal) and what filament and printing process you use.
flange_size– how far the flange reaches out beyond the hole.- The flange is used to cover up any defects left by the drill like chipped away particle board etc. Typically a flange of 5-10mm is plenty, but you can set it to whatever you need.
bore_height– how far the tube extends into the hole.- Measured from the bottom of the flange (flush with the surface of your hole)
How to Use These
- Drill your hole.
- Measure the diameter of the opening with calipers.
- Use this as your
hole_diameter
- Use this as your
- Measure how deep the grommet needs to go into the hole
- Use this as your
bore_height
- Use this as your
- Determine how large of a flange you need (e.g. to cover imperfections etc.)
- Use this are your
flange_size
- Use this are your
- Do a test print and fitment.
- Adjust any parameters as needed.
- Likely, the
hole_diameterwill need a couple of tries to get the fit you need. If unsure and you want a tigher fit, try increasing it by 0.1mm each print. - Example: For the 3/4″ Forstner bits I used to drill my holes in MDF , I needed 19.50mm to get a nice tight fit.
- Likely, the

